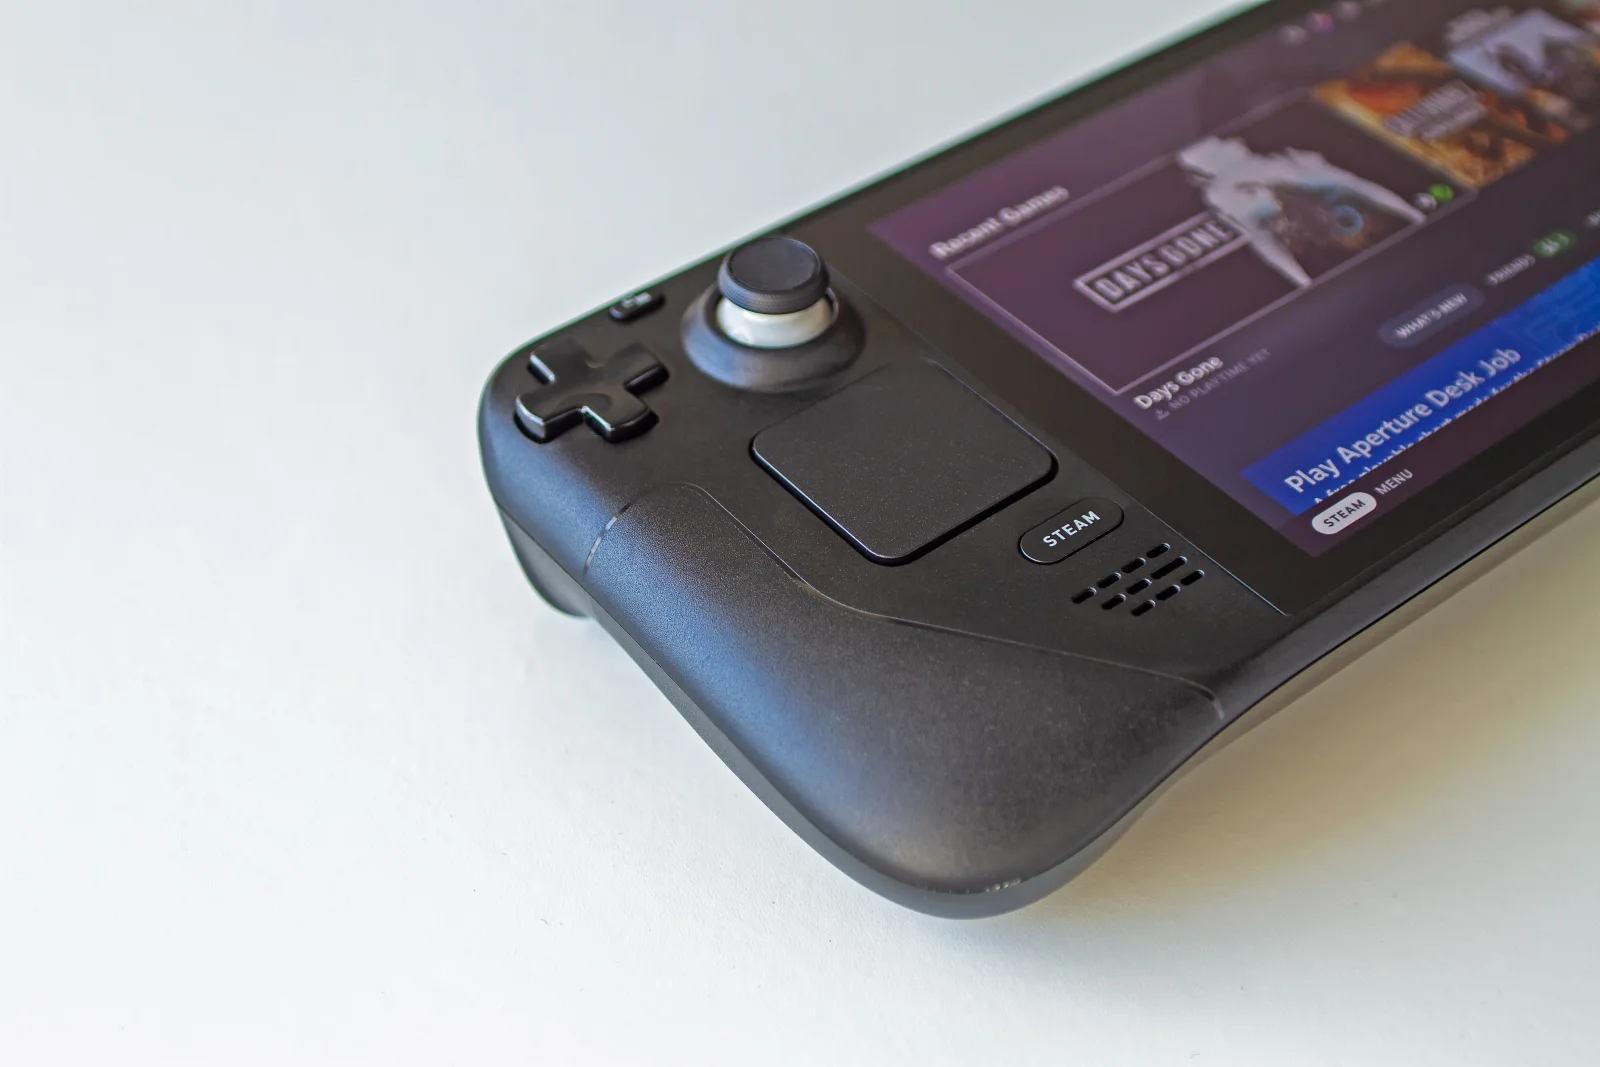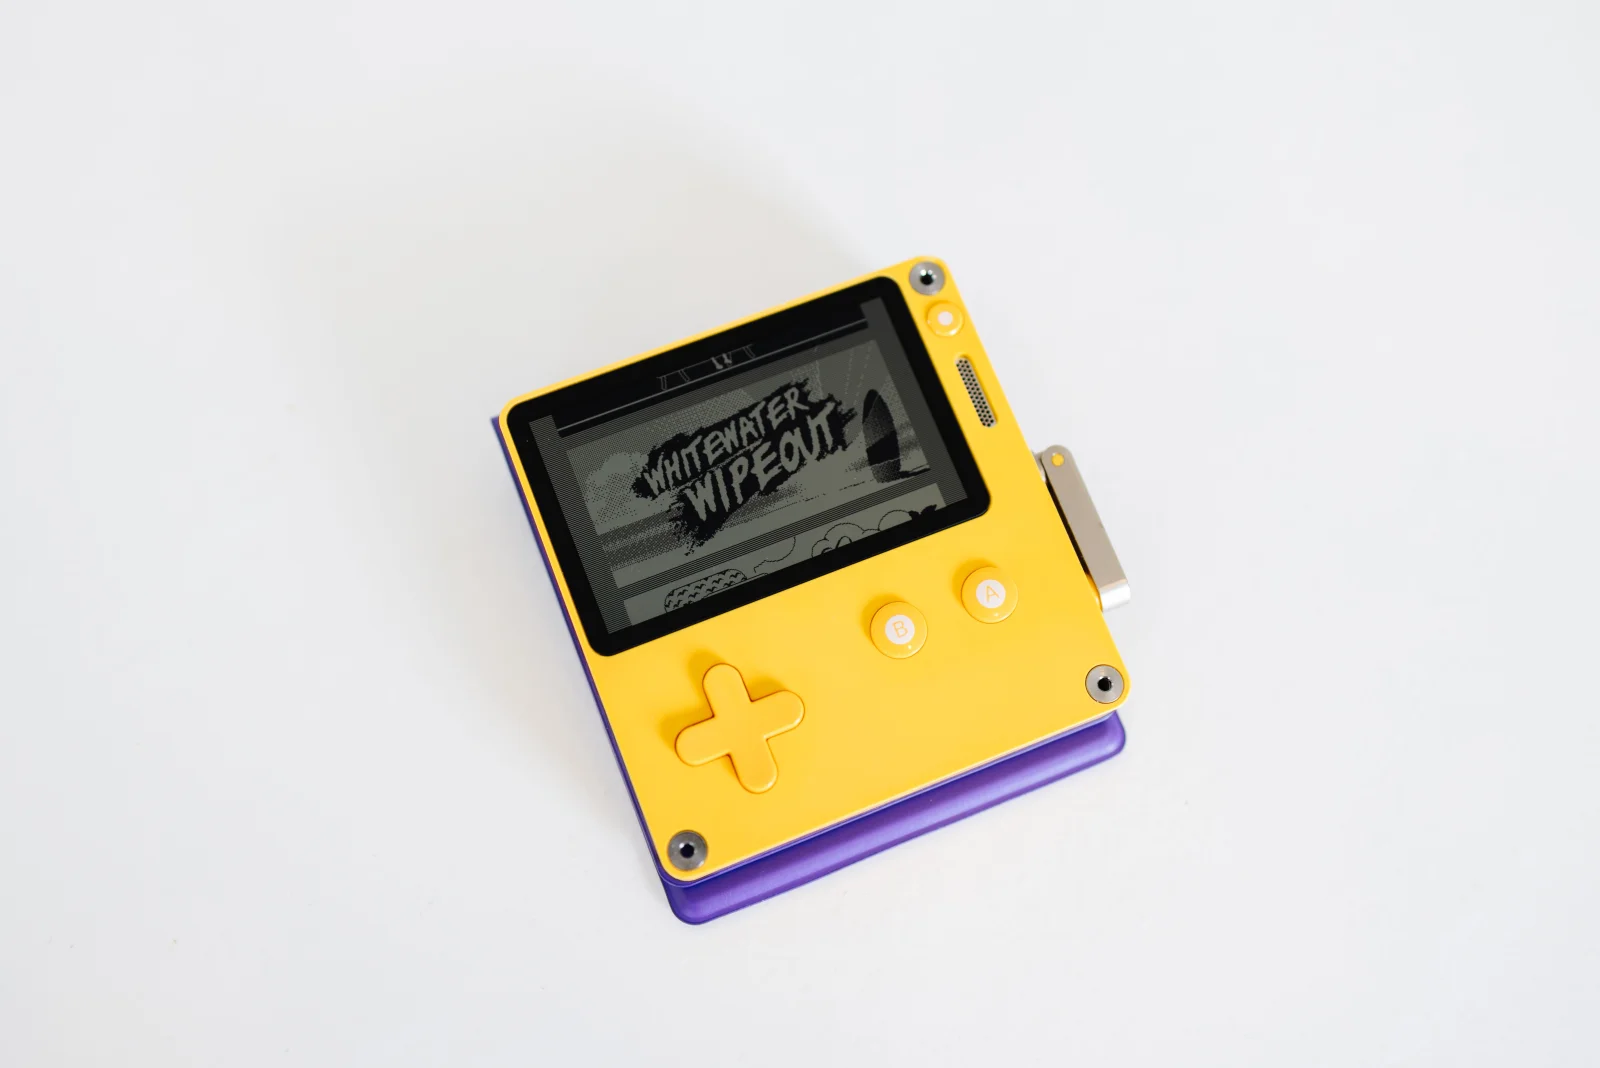
Building a retro game console from scratch is more than just a project; it’s a journey through time. As we piece together hardware and software, we bridge the gap between nostalgia and innovation. This guide will unveil the steps to create a personalized gaming experience that pays homage to classic titles.
Chapter 01
Assembling the Dream
Choosing the right components is the foundation of your retro console journey.
The Essentials
Creating a retro game console begins with selecting the appropriate hardware. The heart of this system often relies on a Raspberry Pi, chosen for its compact size and powerful capabilities. Pair this with a reliable power supply, a high-quality HDMI cable, and a set of compatible controllers to get started.
Software and Emulation
To bring the console to life, you’ll need emulation software capable of running classic games. Popular choices include RetroPie and Lakka, which provide user-friendly interfaces and extensive game libraries. Installation is straightforward; however, configuring the software to recognize your controllers might require some trial and error.
sudo apt-get update && sudo apt-get install retropie-setup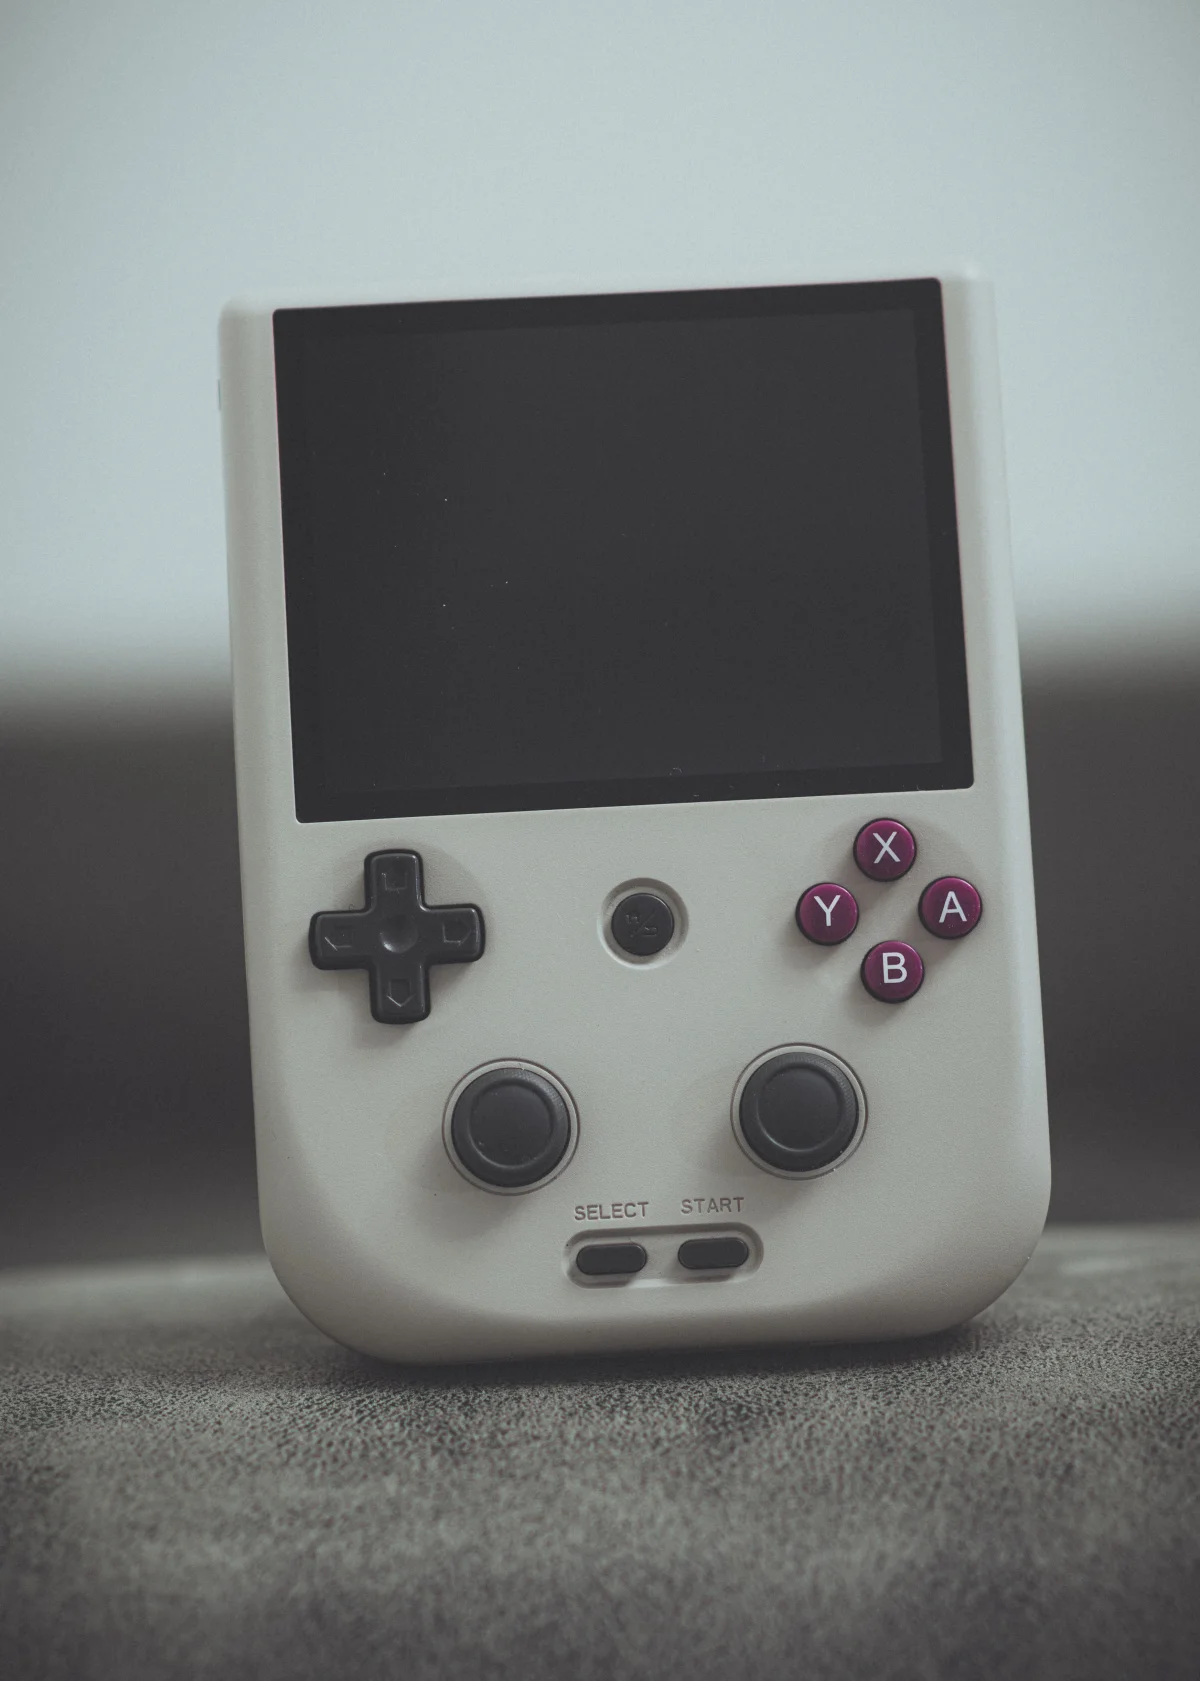
Bringing classics back to life is an art of patience and precision.
A retro gaming enthusiast
Personalizing Your Console
Customization is where your console transforms from a functional device into a personal artifact. From selecting themes to mapping buttons, each choice enhances your connection to the device. Consider adding custom skins or LED lights to reflect your unique style.
Chapter 02
The Art of Customization
Personal touches make your console truly yours.
Controller Configuration
Mapping your controllers correctly is crucial for seamless gameplay. Each emulator may have different settings, so patience is key. Begin by identifying the default setup and tweak each button until the configuration feels intuitive.
Narrative flow
Scroll through the argument
01
Step 1
Connect your controller and navigate to the input settings in your chosen emulator.
02
Step 2
Map the buttons according to the layout of the original console for authentic gameplay.
03
Step 3
Test the configuration with a variety of games to ensure consistency and responsiveness.
Visuals and Themes
The visual aspect of your console interface is another layer of customization. Many emulators offer theme options that can be easily downloaded and applied. This not only enhances the aesthetic appeal but also improves the user experience by organizing games in a visually pleasing manner.
Console Customization Gallery
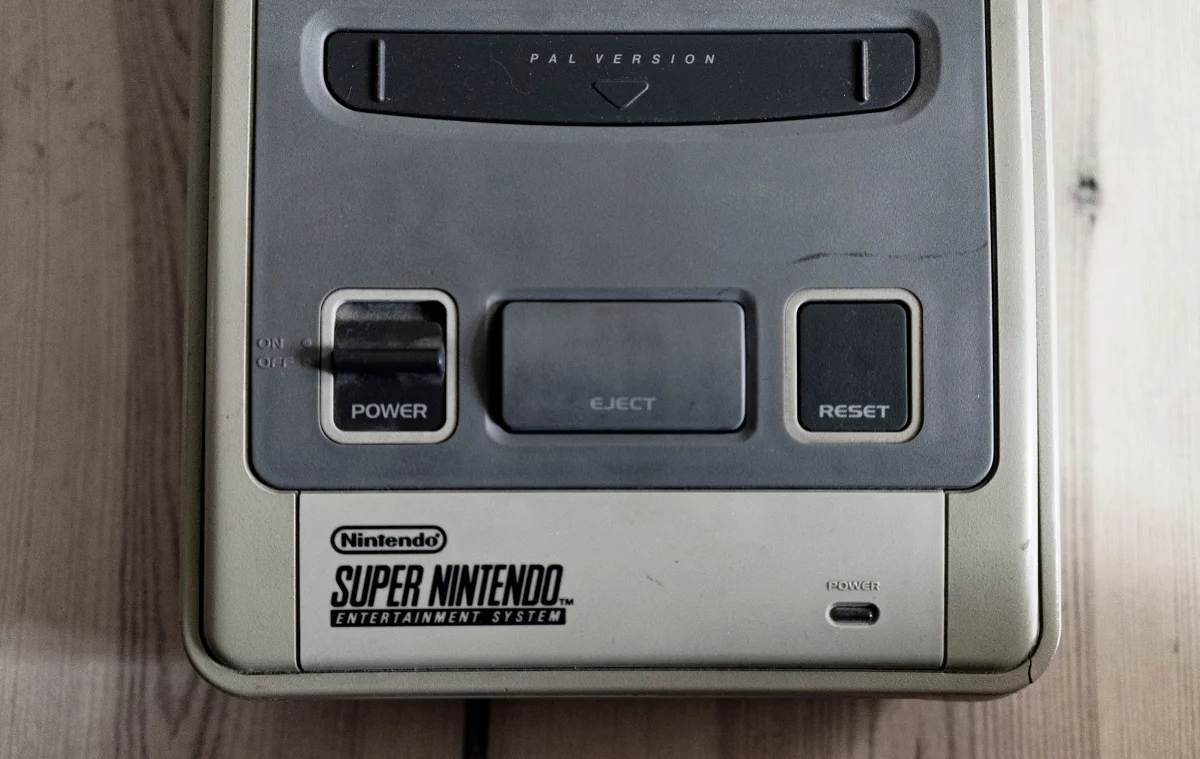
The journey of building a retro game console is a testament to the enduring appeal of classic games. By combining modern hardware with nostalgic elements, you don’t just create a machine—you craft an experience. The final product is a testament to both technological ingenuity and a deep love for gaming’s history.
As you power on your custom-built retro console, remember that each component, each setting, and each game contributes to a larger tapestry of gaming history. This project isn’t just about playing old games; it’s about reconnecting with the essence of gaming and making it your own.