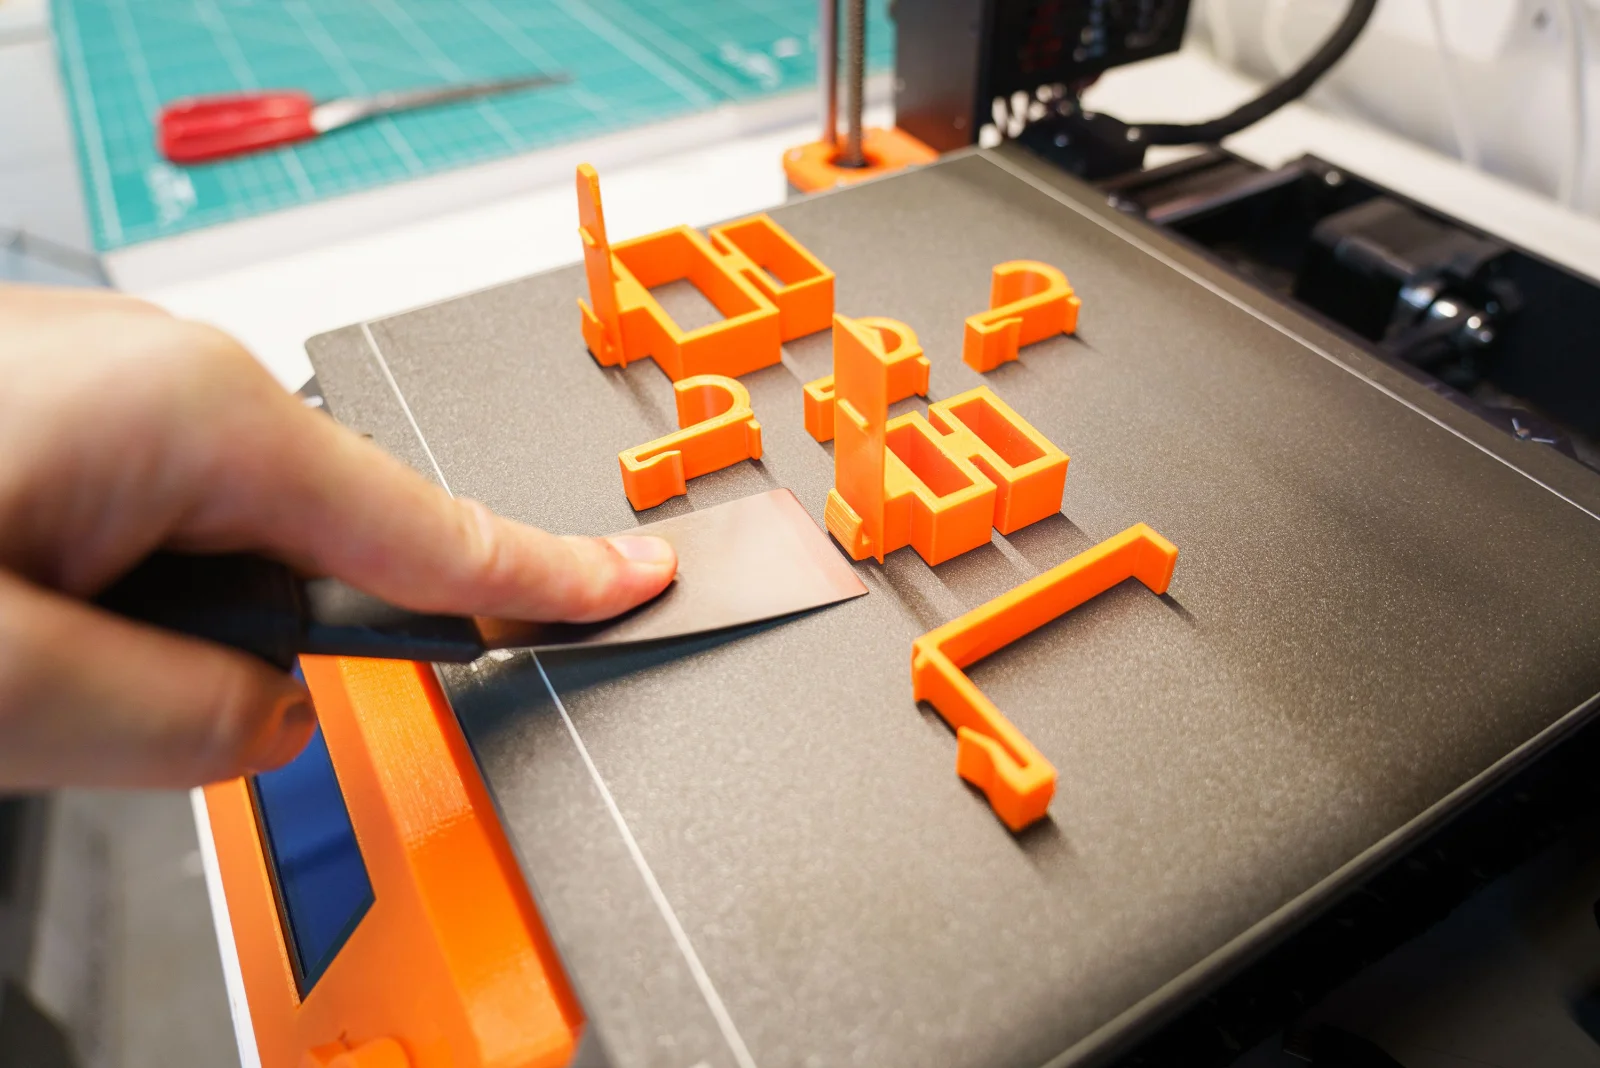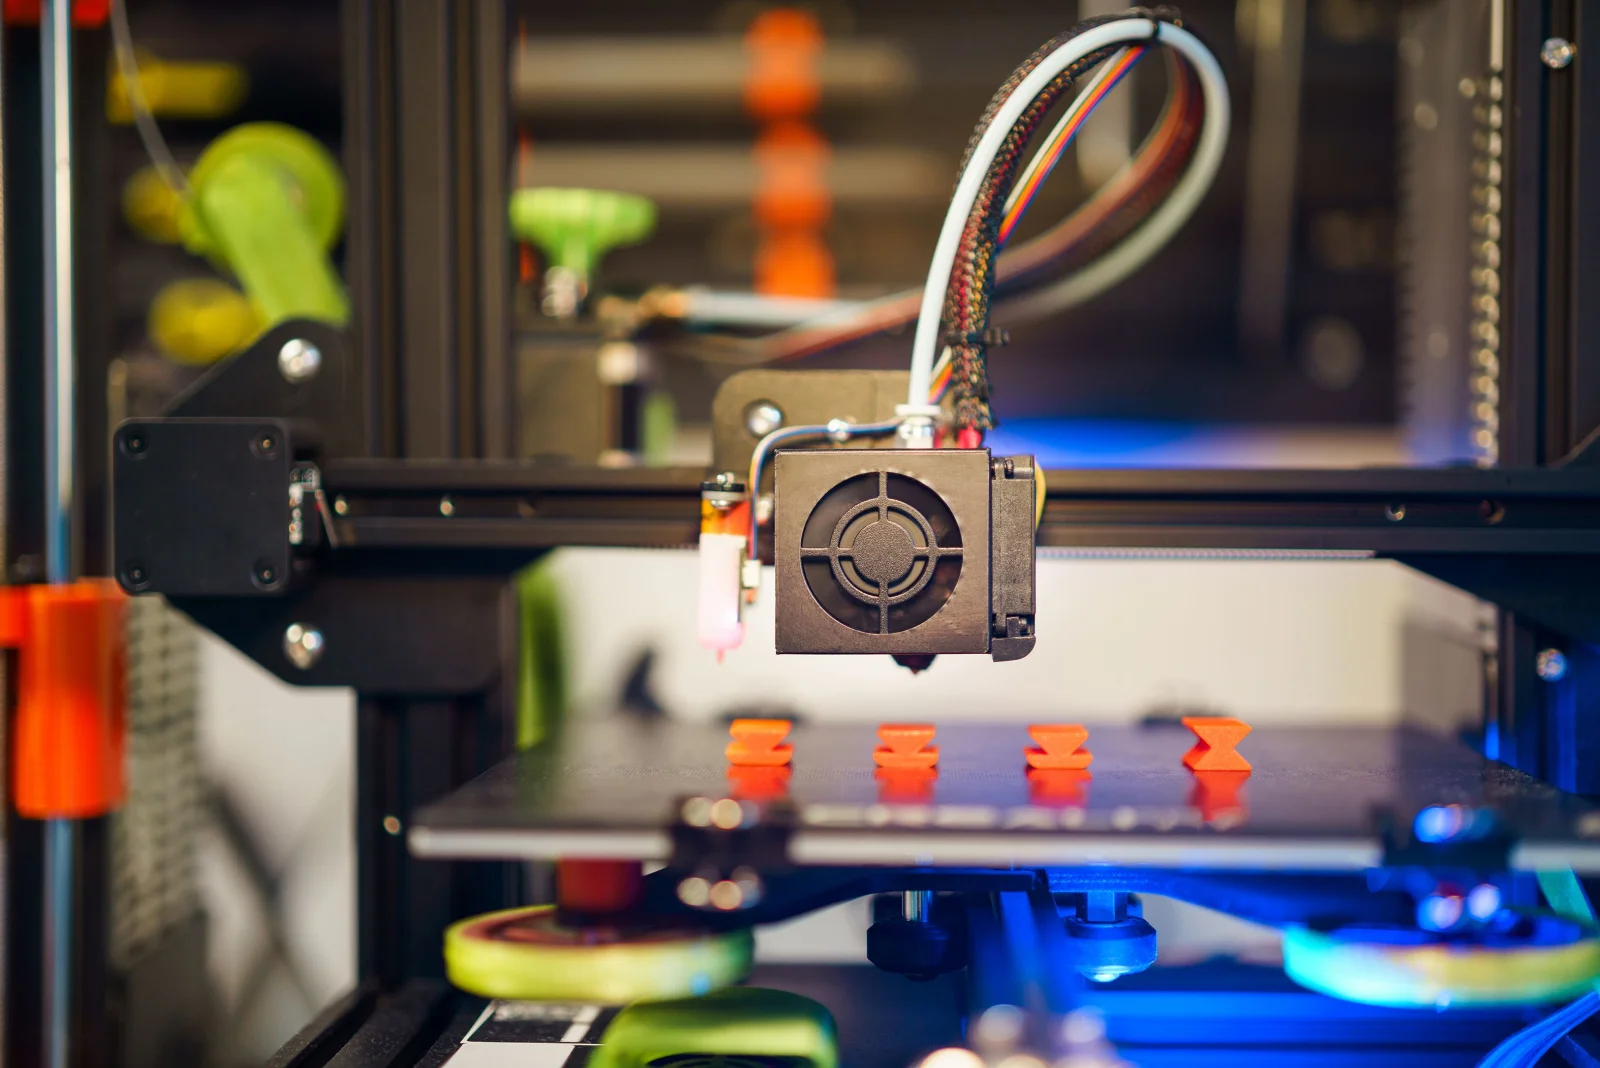
Embedding magnets into your 3D prints can transform simple objects into modular and interactive designs. From securing enclosures to creating snap-fit parts, magnets open a world of possibilities. In this article, we’ll explore seven proven techniques to integrate magnets seamlessly into your 3D projects.
Chapter 01
Design Considerations
Before embedding magnets, understanding your design constraints is crucial.
Selecting the Right Magnet
Choosing the appropriate magnet is foundational. Neodymium magnets are favored for their compact size and powerful magnetic field. Consider your design’s weight, thickness, and intended use when selecting the magnet type and size.
Designing Magnet Cavities
Designing cavities to house magnets requires precision. Ensure that the cavity size matches the magnet dimensions snugly to prevent movement. This approach not only secures the magnet but also maintains the object’s structural integrity.
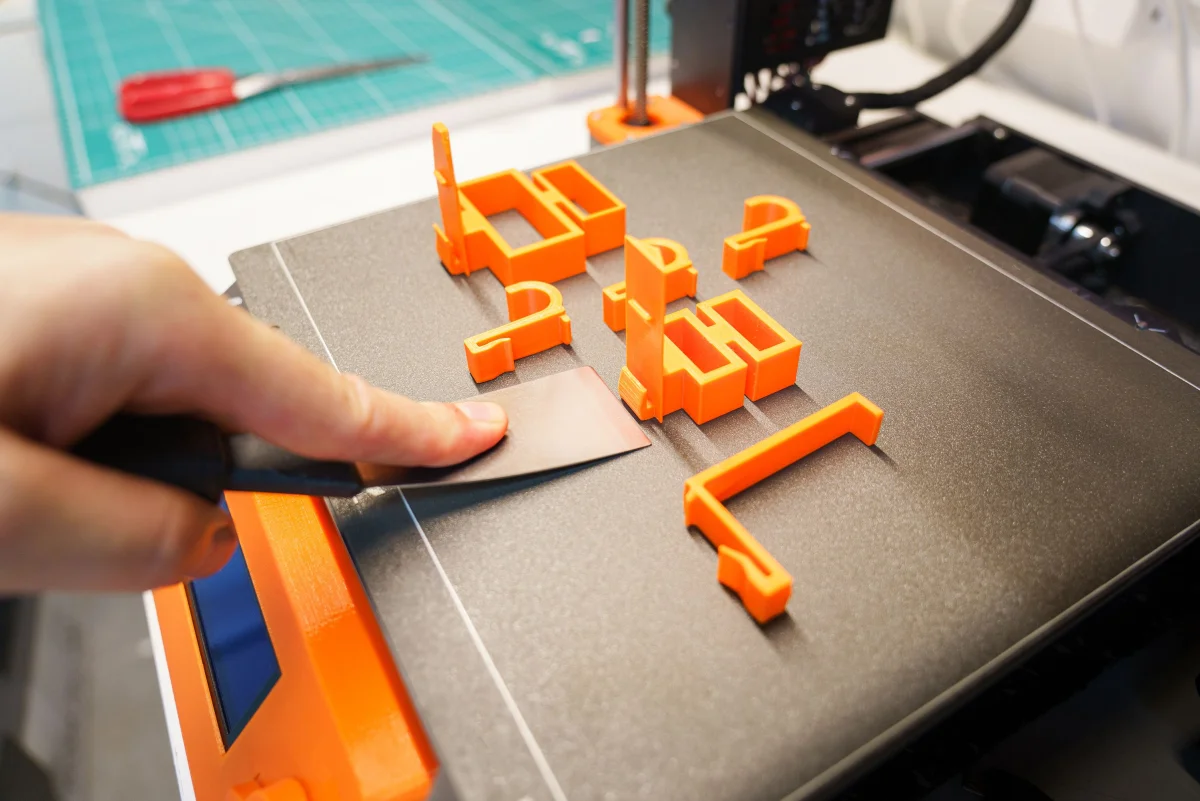
Embedding magnets into your 3D prints can transform simple objects into modular and interactive designs.
A 3D printing enthusiast
Chapter 02
Installation Techniques
Embedding magnets requires careful handling and installation techniques.
Adhesive Bonding
Using high-strength adhesives can secure magnets effectively. Apply adhesive to the cavity and press the magnet in place. Ensure the adhesive fully cures before using the object to maximize bond strength.
Narrative flow
Scroll through the argument
01
Step 1: Prepare the Surface
Clean both the magnet and cavity surfaces to remove any dust or grease that could weaken the bond.
02
Step 2: Apply Adhesive
Use a thin, even layer of adhesive for a strong hold. Avoid excessive application which can ooze out and affect the print.
03
Step 3: Secure and Cure
Press the magnet firmly into the cavity and allow sufficient time for the adhesive to cure completely.
Press-Fit Technique
For a cleaner finish, the press-fit technique uses friction to hold the magnet in place. This method requires precise tolerance and is ideal for designs where adhesives are undesirable.
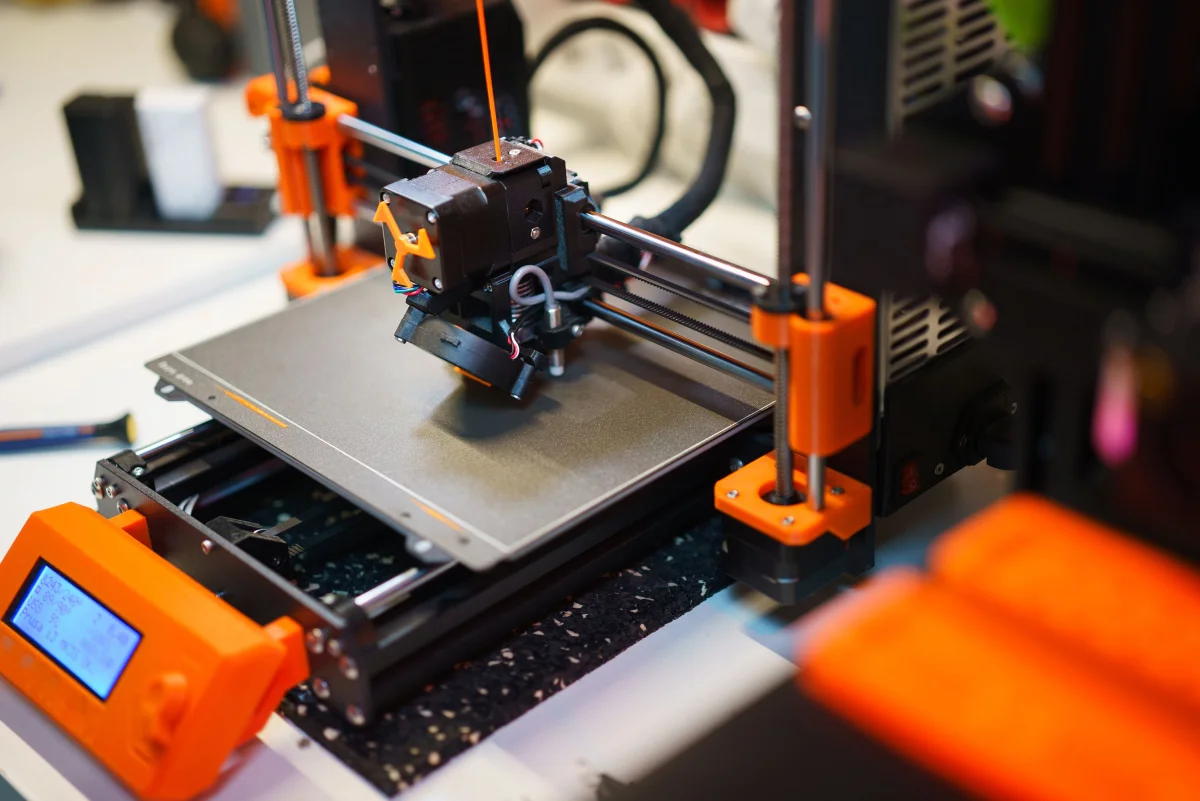
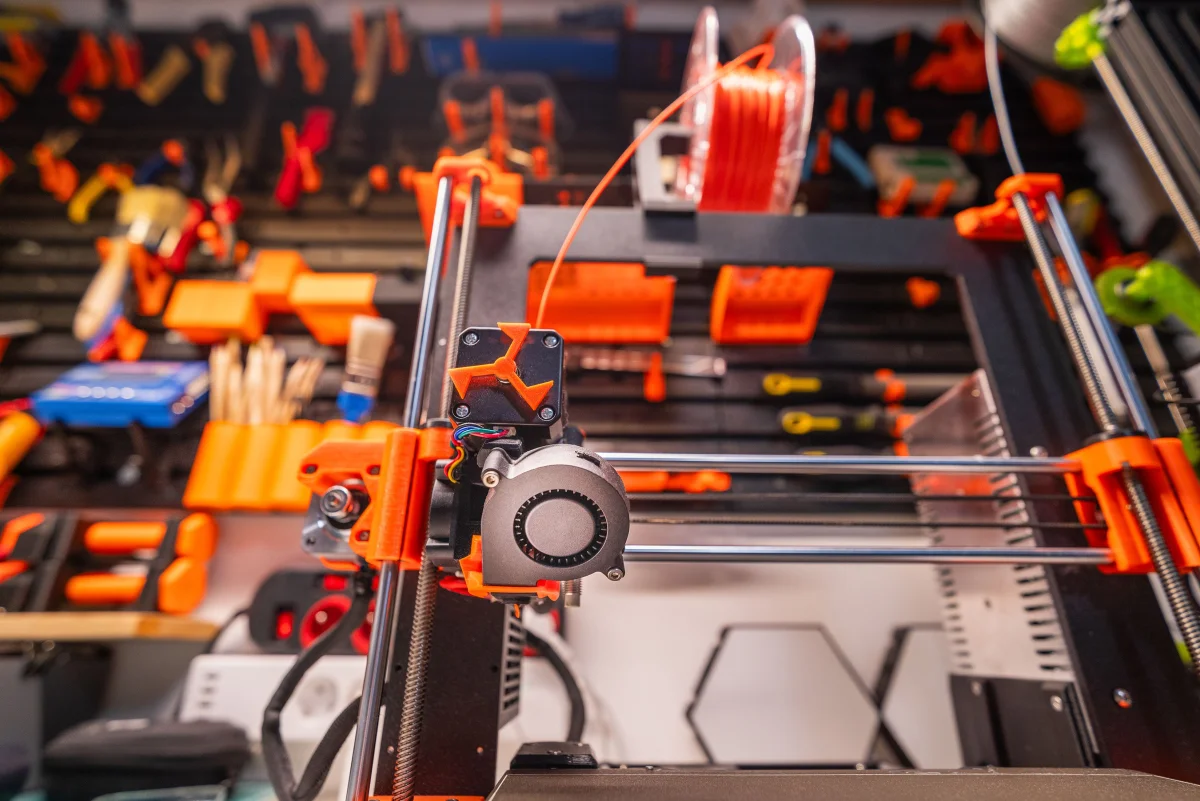
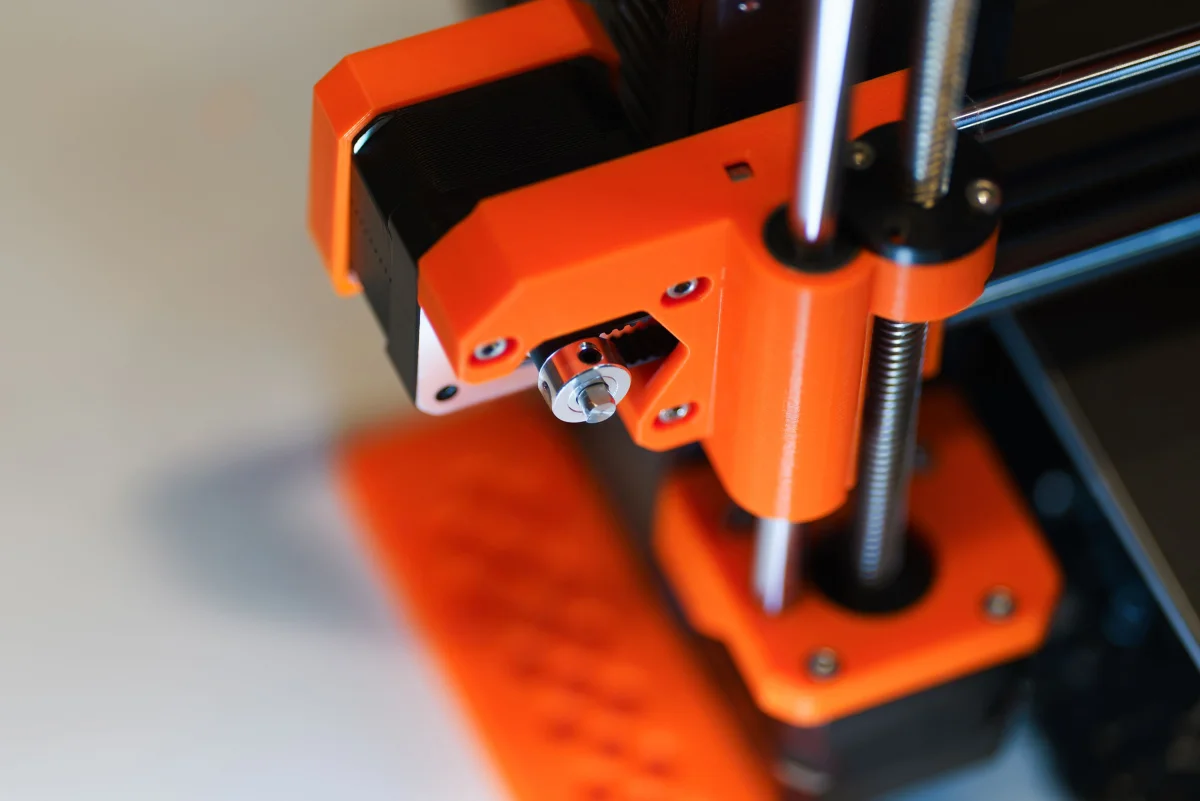
3D Printing Magnet Techniques
Chapter 03
Post-Processing and Optimization
Beyond installation, post-processing can enhance both aesthetic and functional aspects of your 3D printed magnets.
Finishing Touches
Sanding and smoothing the area around the magnet can improve the print’s appearance. Additionally, applying a thin coat of resin or paint can protect the magnet and enhance the object’s visual appeal.
Embedding magnets into 3D prints isn’t just a technical challenge; it’s an art that balances design, functionality, and aesthetics. Through careful planning and execution, you can elevate your 3D projects to new heights—proving that the smallest components can have the biggest impact.
The journey of embedding magnets in 3D prints is as much about the process as it is about the result. By mastering these techniques, you not only enhance the utility of your creations but also open the door to endless possibilities in 3D design.